 Official user guide
Help & User Guide
A complete, screen-by-screen walkthrough of setting up and using OPTIVEST SmartBell — from registration to answering visitor calls.
Download the full PDF guideDocument version v1.0.20260730.1606
Contents
1. How SmartBell works
SmartBell turns any door into a smart, QR-powered doorbell — no hardware and no app for your visitors.
- 1Add your property and SmartBell generates its unique QR doorbell.
- 2Print the QR code and place it at your door, gate, or reception.
- 3Visitors scan and ring — you get a real-time call and every visit is logged.
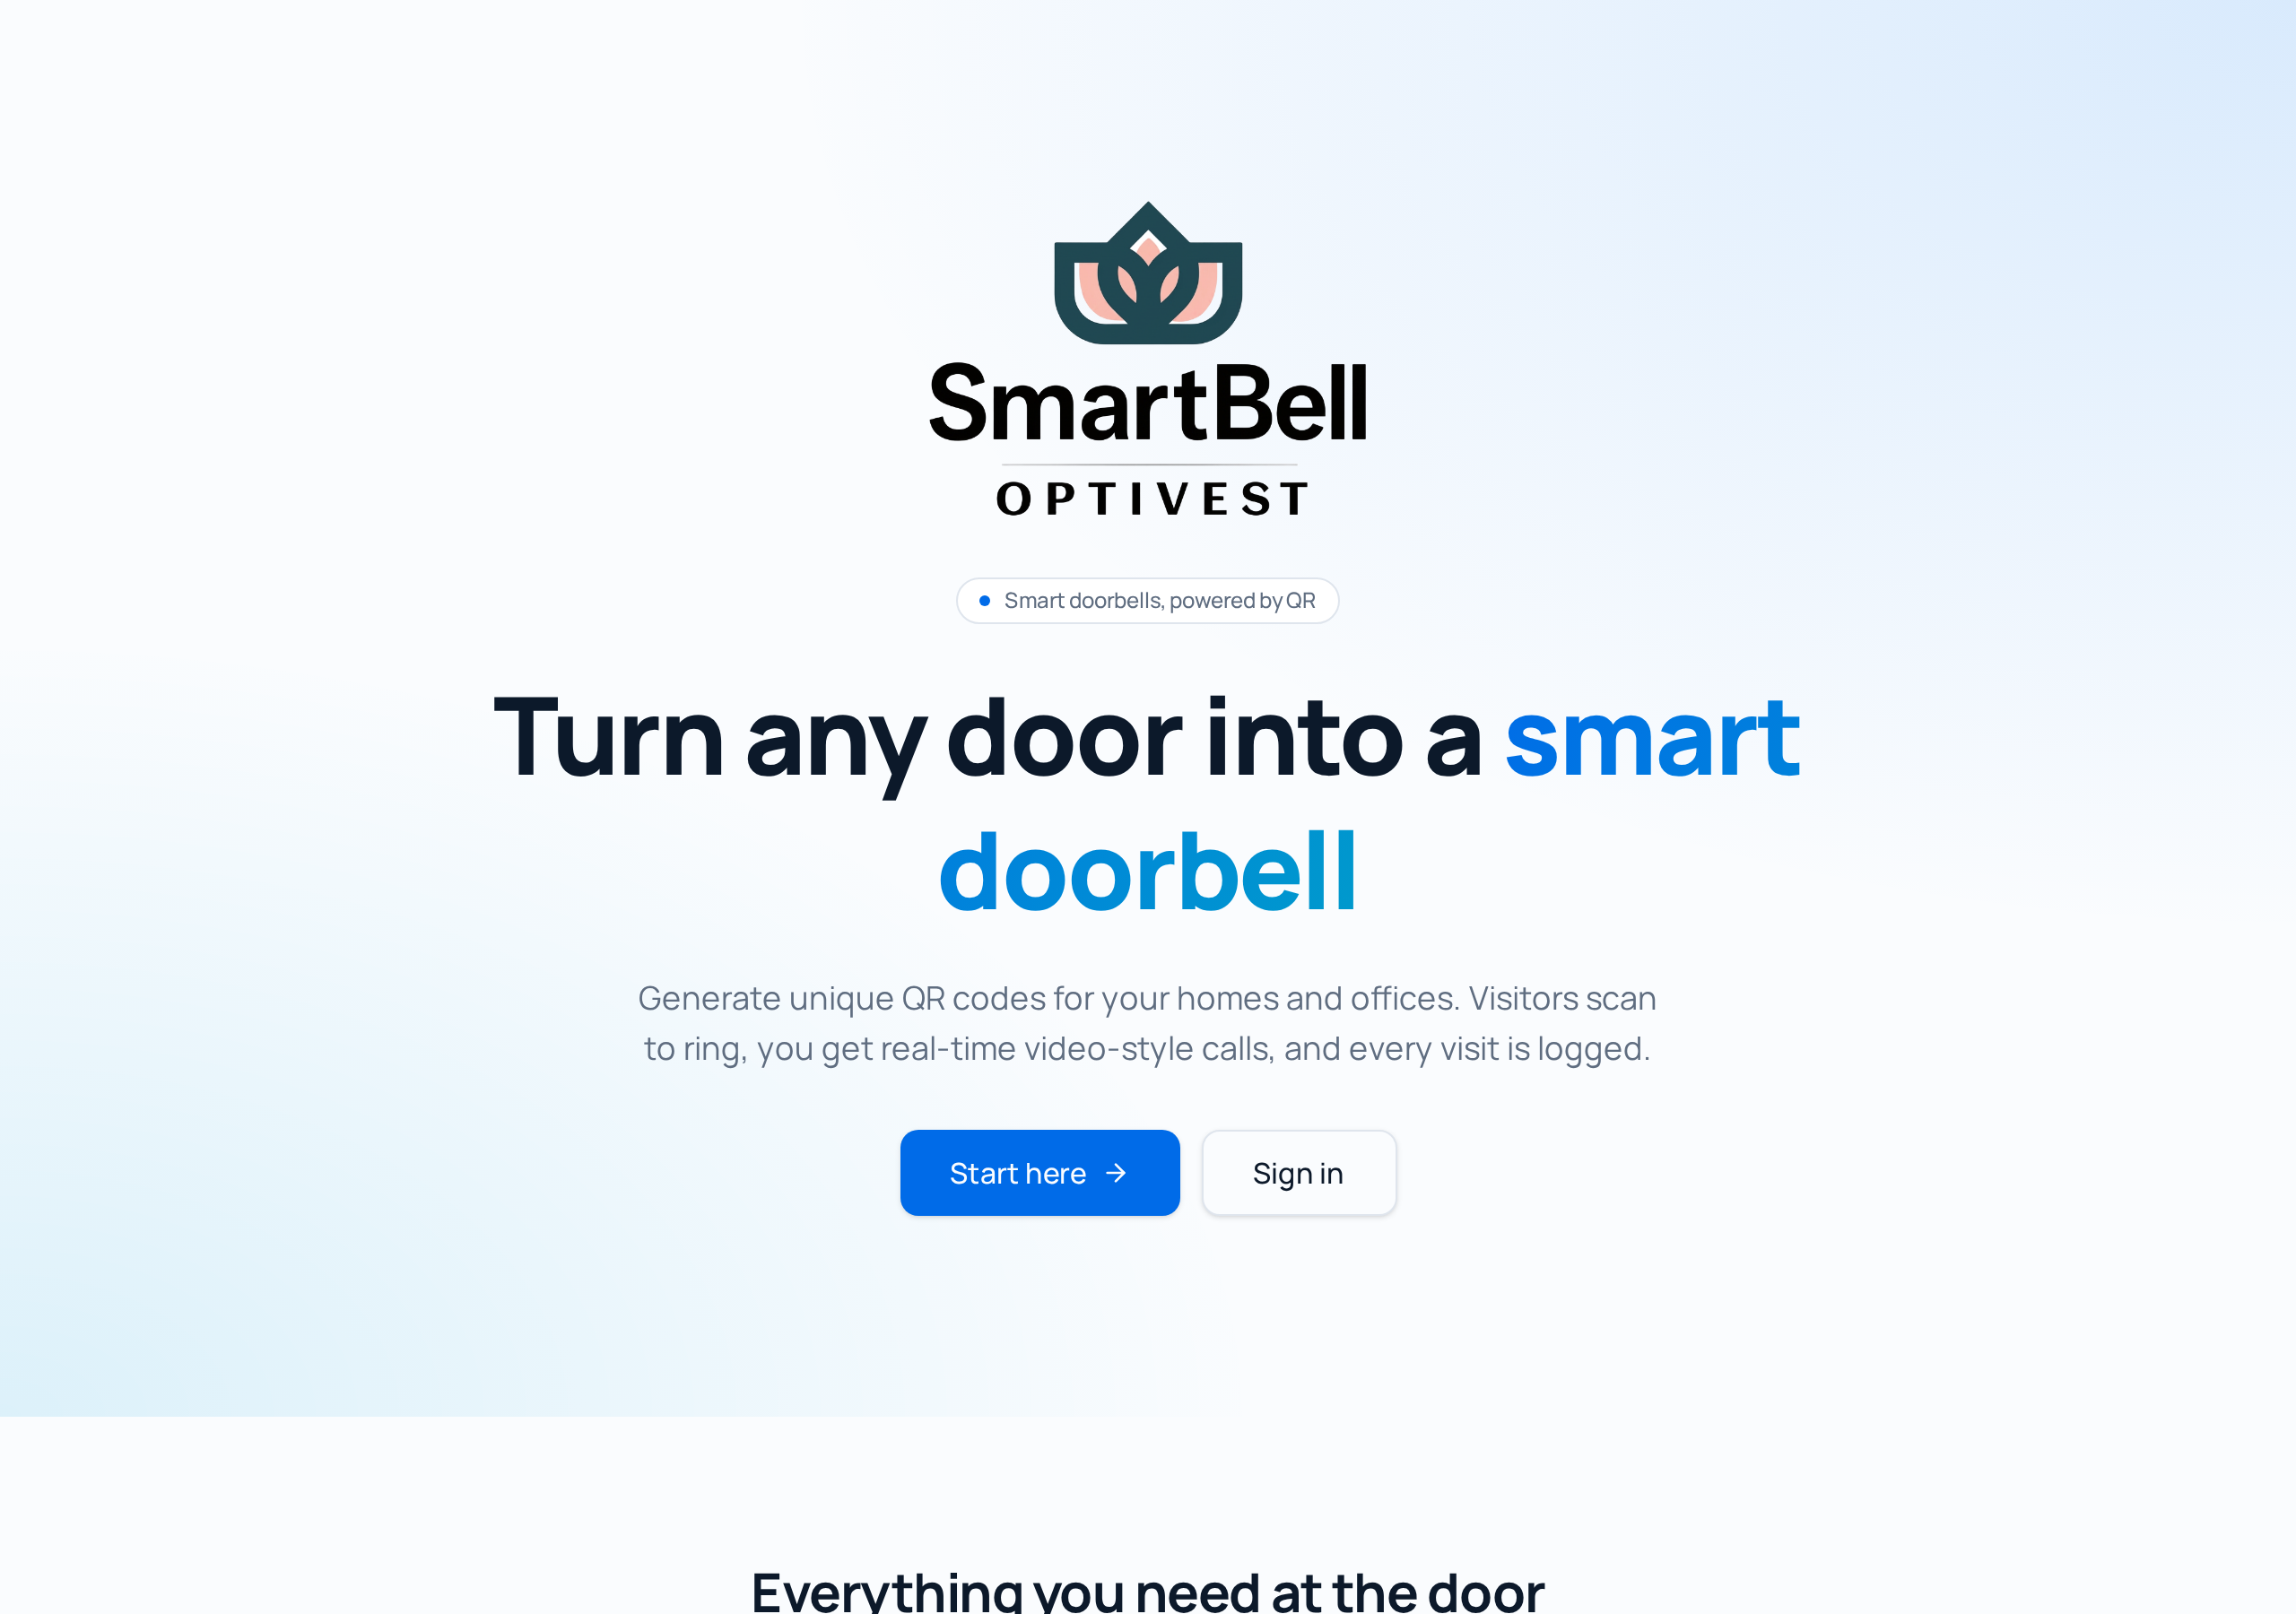
2. Creating your account (registration)
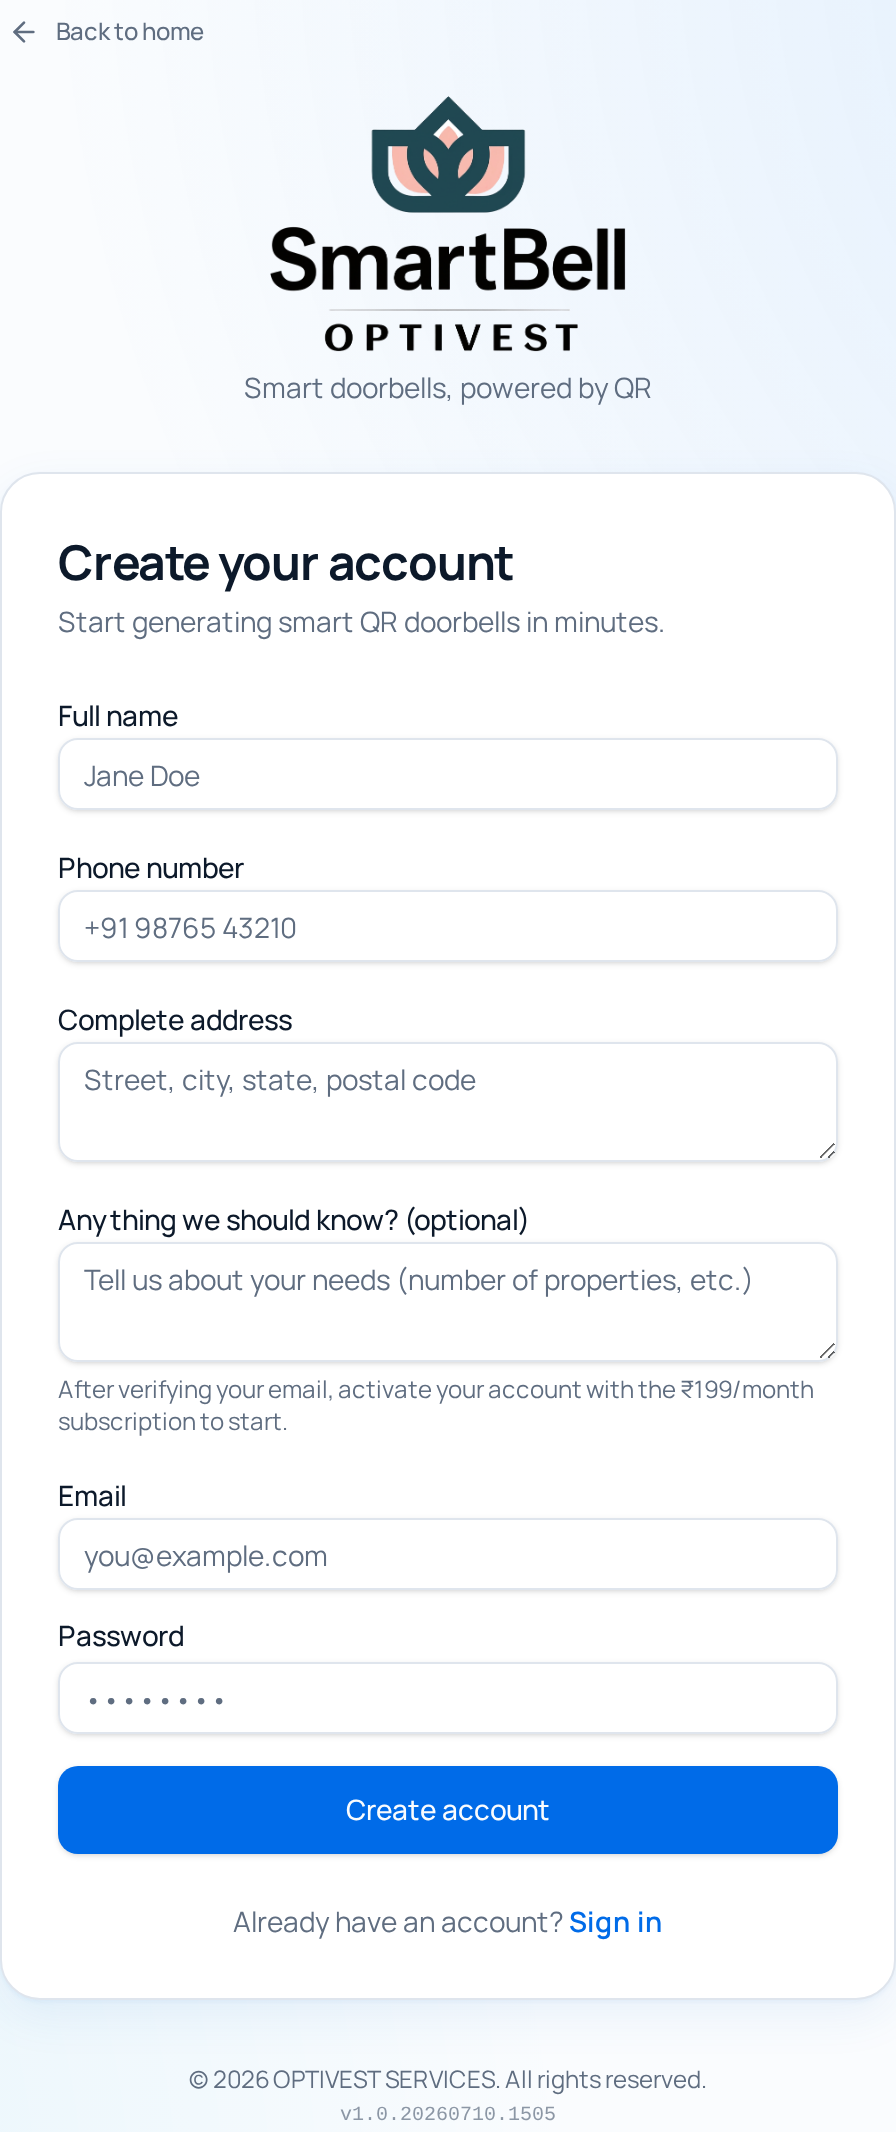
From the home screen tap “Start here”, then choose “Sign up” at the bottom of the form.
- 1Enter your full name, phone number, and complete address.
- 2Optionally tell us about your needs (e.g. number of properties).
- 3Enter your email and a password (at least 6 characters).
- 4Tap Create account.
3. Verifying your email
We email you a 6-digit verification code right after you sign up.
- 1Open the email and copy the 6-digit code.
- 2Type it into the Verification code box and tap Verify & continue.
- 3Didn’t get it? Tap Resend code (check spam/promotions too).
4. Signing in
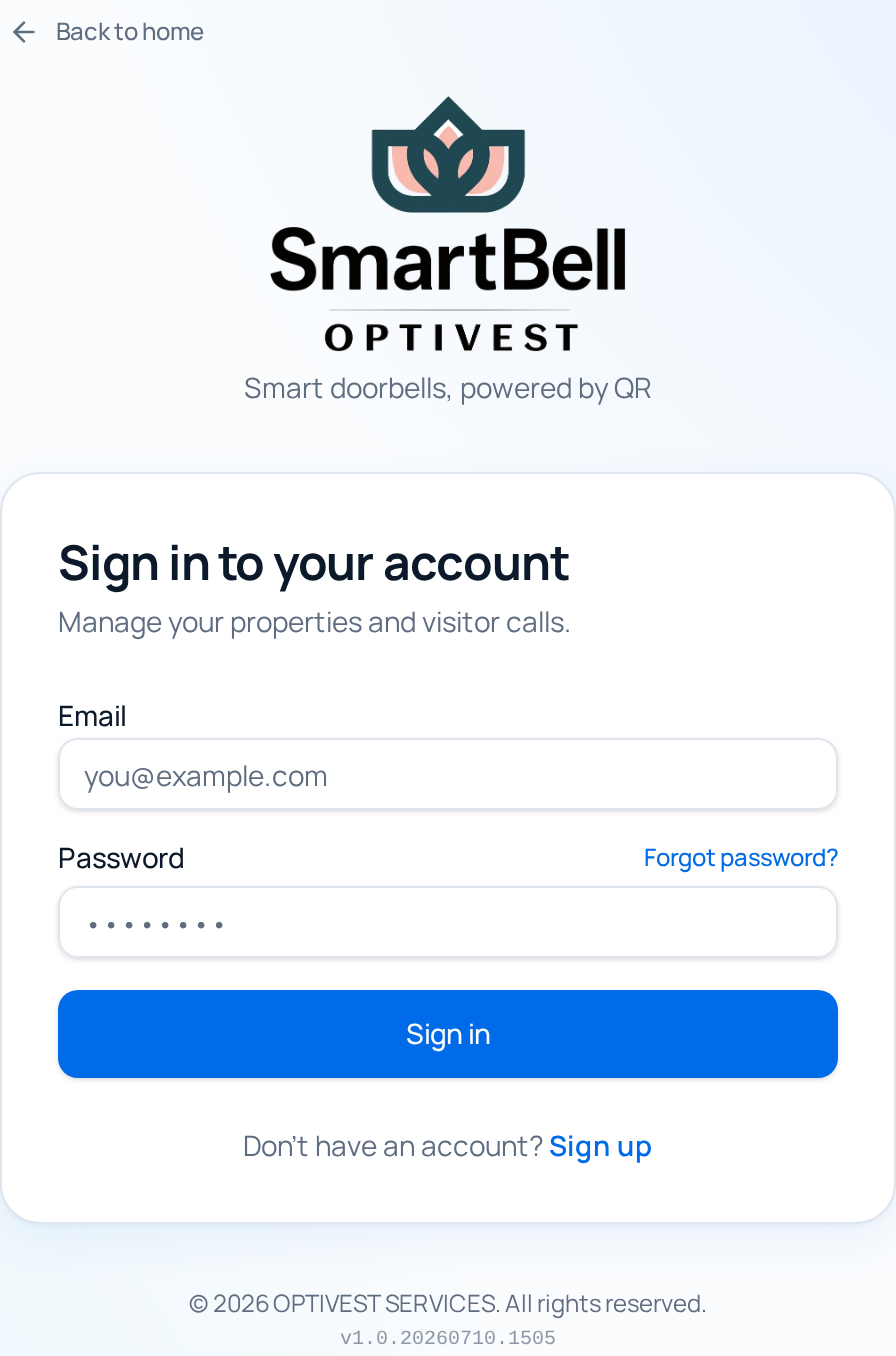
Returning users tap “Sign in” from the home screen.
- 1Enter your email and password, then tap Sign in.
- 2Your session stays active — you won’t need to sign in again on this device unless you sign out.
- 3Forgot your password? Tap “Forgot password?” for a secure reset link.
5. Subscription & trial
SmartBell is a subscription service; new members may receive a trial period.
- 1Your remaining trial days appear in a banner at the top of the dashboard.
- 2Tap Upgrade · Rs. 199/month to start your paid subscription any time.
- 3Access switches to Active automatically once payment is confirmed.
- 4When a trial or subscription ends, access is paused until you renew.
6. The Dashboard
Your home base after signing in, with at-a-glance statistics and visitor logs.
- 1See totals for visitors, answered calls, missed/rejected calls, and properties.
- 2Review the last 90 days of visitor activity — names, phone numbers, snapshots, and status.
- 3Choose your ringtone so you never miss a call, or Clear logs to remove all history.
7. Properties & QR doorbells
Open Properties to manage your locations and their QR doorbells.
- 1Tap Add property and enter a name and address.
- 2Set the doorbell location (geofence):
- Search, tap the map, or drag the pin to the exact spot.
- Set the allowed radius (meters) — visitors can only ring within it.
- Use Clear location to disable the check (then anyone can ring).
- 3Tap QR code to Download it for printing or Copy the ring link to share.
8. Family members (shared access)
Share a property’s doorbell with the people you live or work with.
- 1On a property card, tap Family members.
- 2Add a member by email so they can answer that property’s calls.
- 3Remove a member any time to revoke access.
9. Profile settings
Keep your details current and manage your password.
- 1Update your full name, phone, and address, then Save changes.
- 2Change your password (at least 6 characters) and confirm it.
10. Answering visitor calls
When a visitor rings, SmartBell alerts you in real time and plays your ringtone.
- 1Tap Accept to connect and see/hear the visitor through their phone.
- 2Tap Reject to decline — the call is logged as rejected.
- 3If you don’t answer within ~60 seconds, the call is logged as missed.
11. The visitor experience
What your visitors see after scanning your QR code.
- 1The doorbell page opens in their browser — no app needed.
- 2They allow camera and microphone access.
- 3If a geofence is set, they must be within the allowed radius.
- 4They enter a name, then tap to ring and wait for you to answer.
12. Installing SmartBell on your phone
Install SmartBell like a native app for the best experience and reliable alerts.
- 1iPhone (Safari): tap Share, then Add to Home Screen.
- 2Android (Chrome): open the menu, then Install app / Add to Home screen.
- 3Allow notifications so you’re alerted even when the app is closed.
13. Administrator guide (super admin)
Administrators get an extra Subscriptions screen to approve and manage members.
- 1Admins are emailed when a new member verifies their account.
- 2Grant a 30, 60, or 90-day trial, or Extend trial +7 days.
- 3Activate the Monthly subscription (Rs. 199 / 30 days) or Reject a member.
- 4Delete user permanently removes the member and all their data (irreversible).